
User Guide
How to Use NexMailPro: Complete Step-by-Step User Guide
This guide shows you how to create an account, open the dashboard, manage credits, pay for a plan, verify single emails, clean bulk lists, use API keys, and manage your account with confidence.
1. Introduction
NexMailPro helps you check whether an email address is likely to work before you send messages. It also helps you clean large email lists, manage credits, keep track of your plan, and use API keys if you connect other tools later.
What you can do
Verify one email at a time, upload CSV files, buy credits, and review results in your dashboard.
Who this is for
Marketers, sales teams, freelancers, small businesses, and anyone who wants cleaner email data.
Why it matters
Cleaner email lists mean fewer bounces, better deliverability, and less wasted time.
2. Create Your Account
Open the registration page and create your account. You can usually sign up with email and password, or use Google or Microsoft if you prefer quicker access.
- Open the registration page.
- Choose email/password or a social sign-in method if available.
- Complete any security check shown on the form.
- Submit your details and wait for the account to be created.
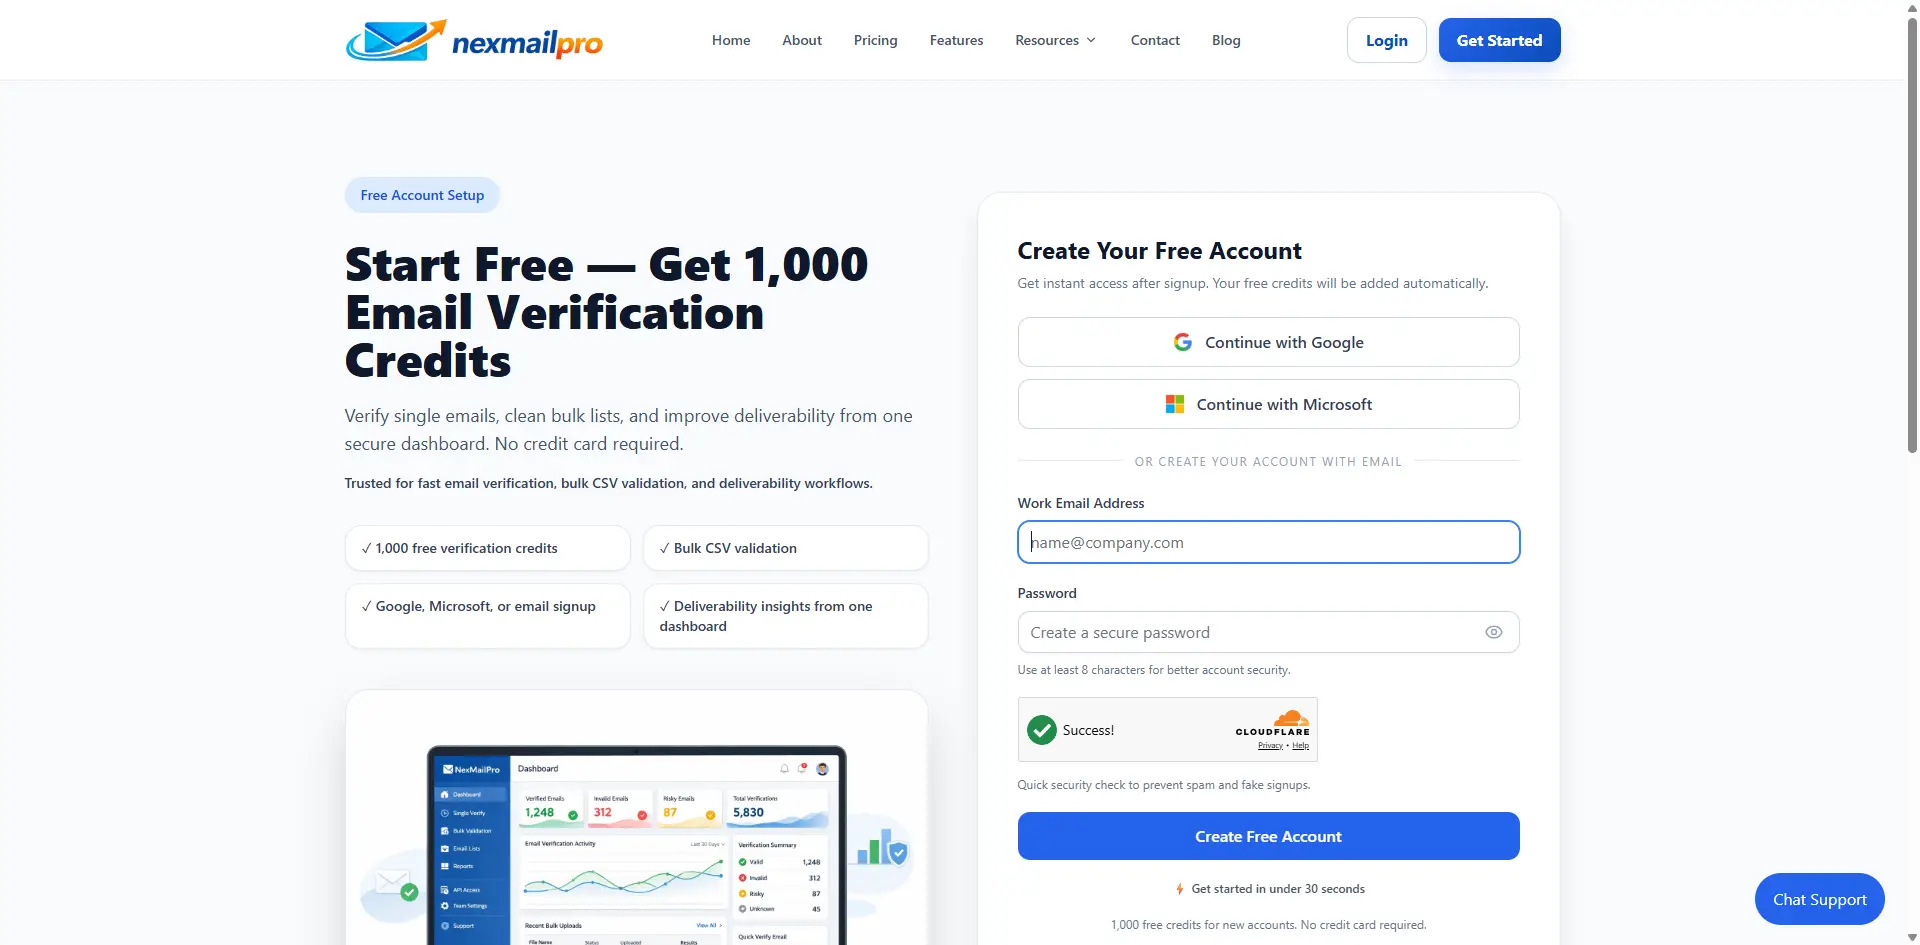
Registration page image placeholder
Create your NexMailPro account from the registration page.
3. Login to Dashboard
After you register, sign in using the login page. You may also see Google and Microsoft login buttons if those options are enabled for your account.
How to sign in
Enter your email and password, or use the available social login button.
What you see next
You arrive at the dashboard, where you can view credits, plan information, and recent activity.
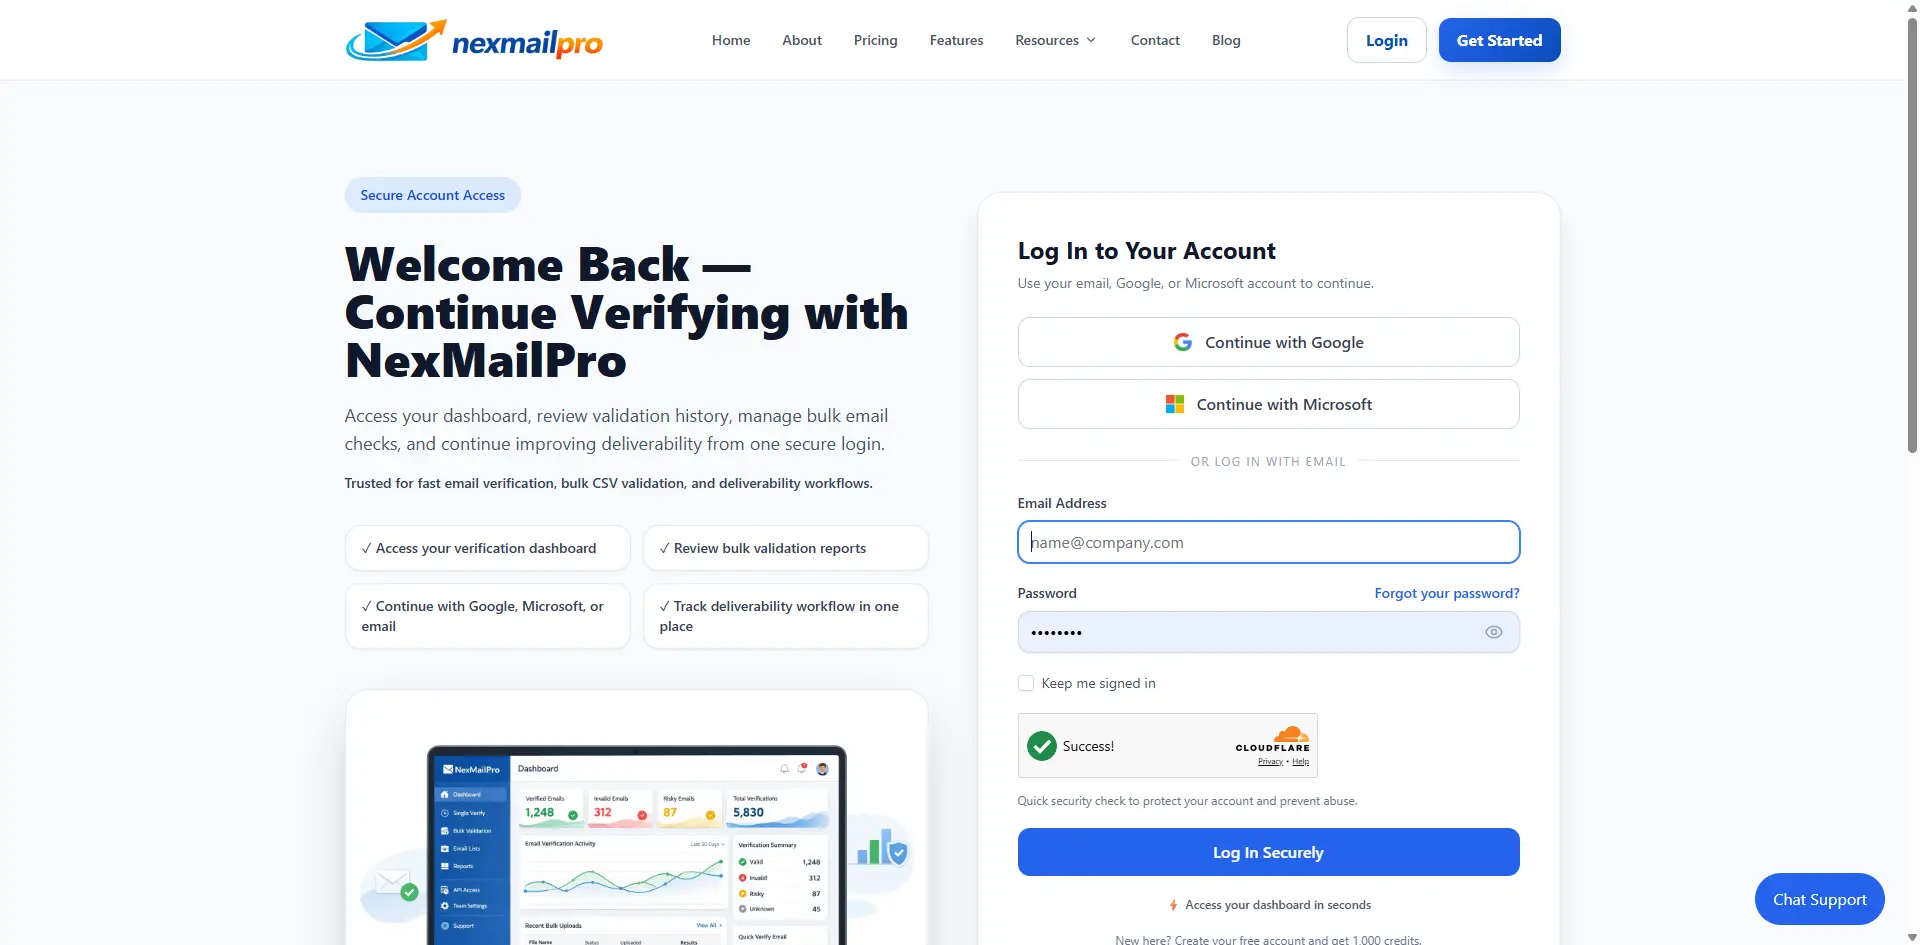
Login page image placeholder
Sign in to reach your NexMailPro dashboard.
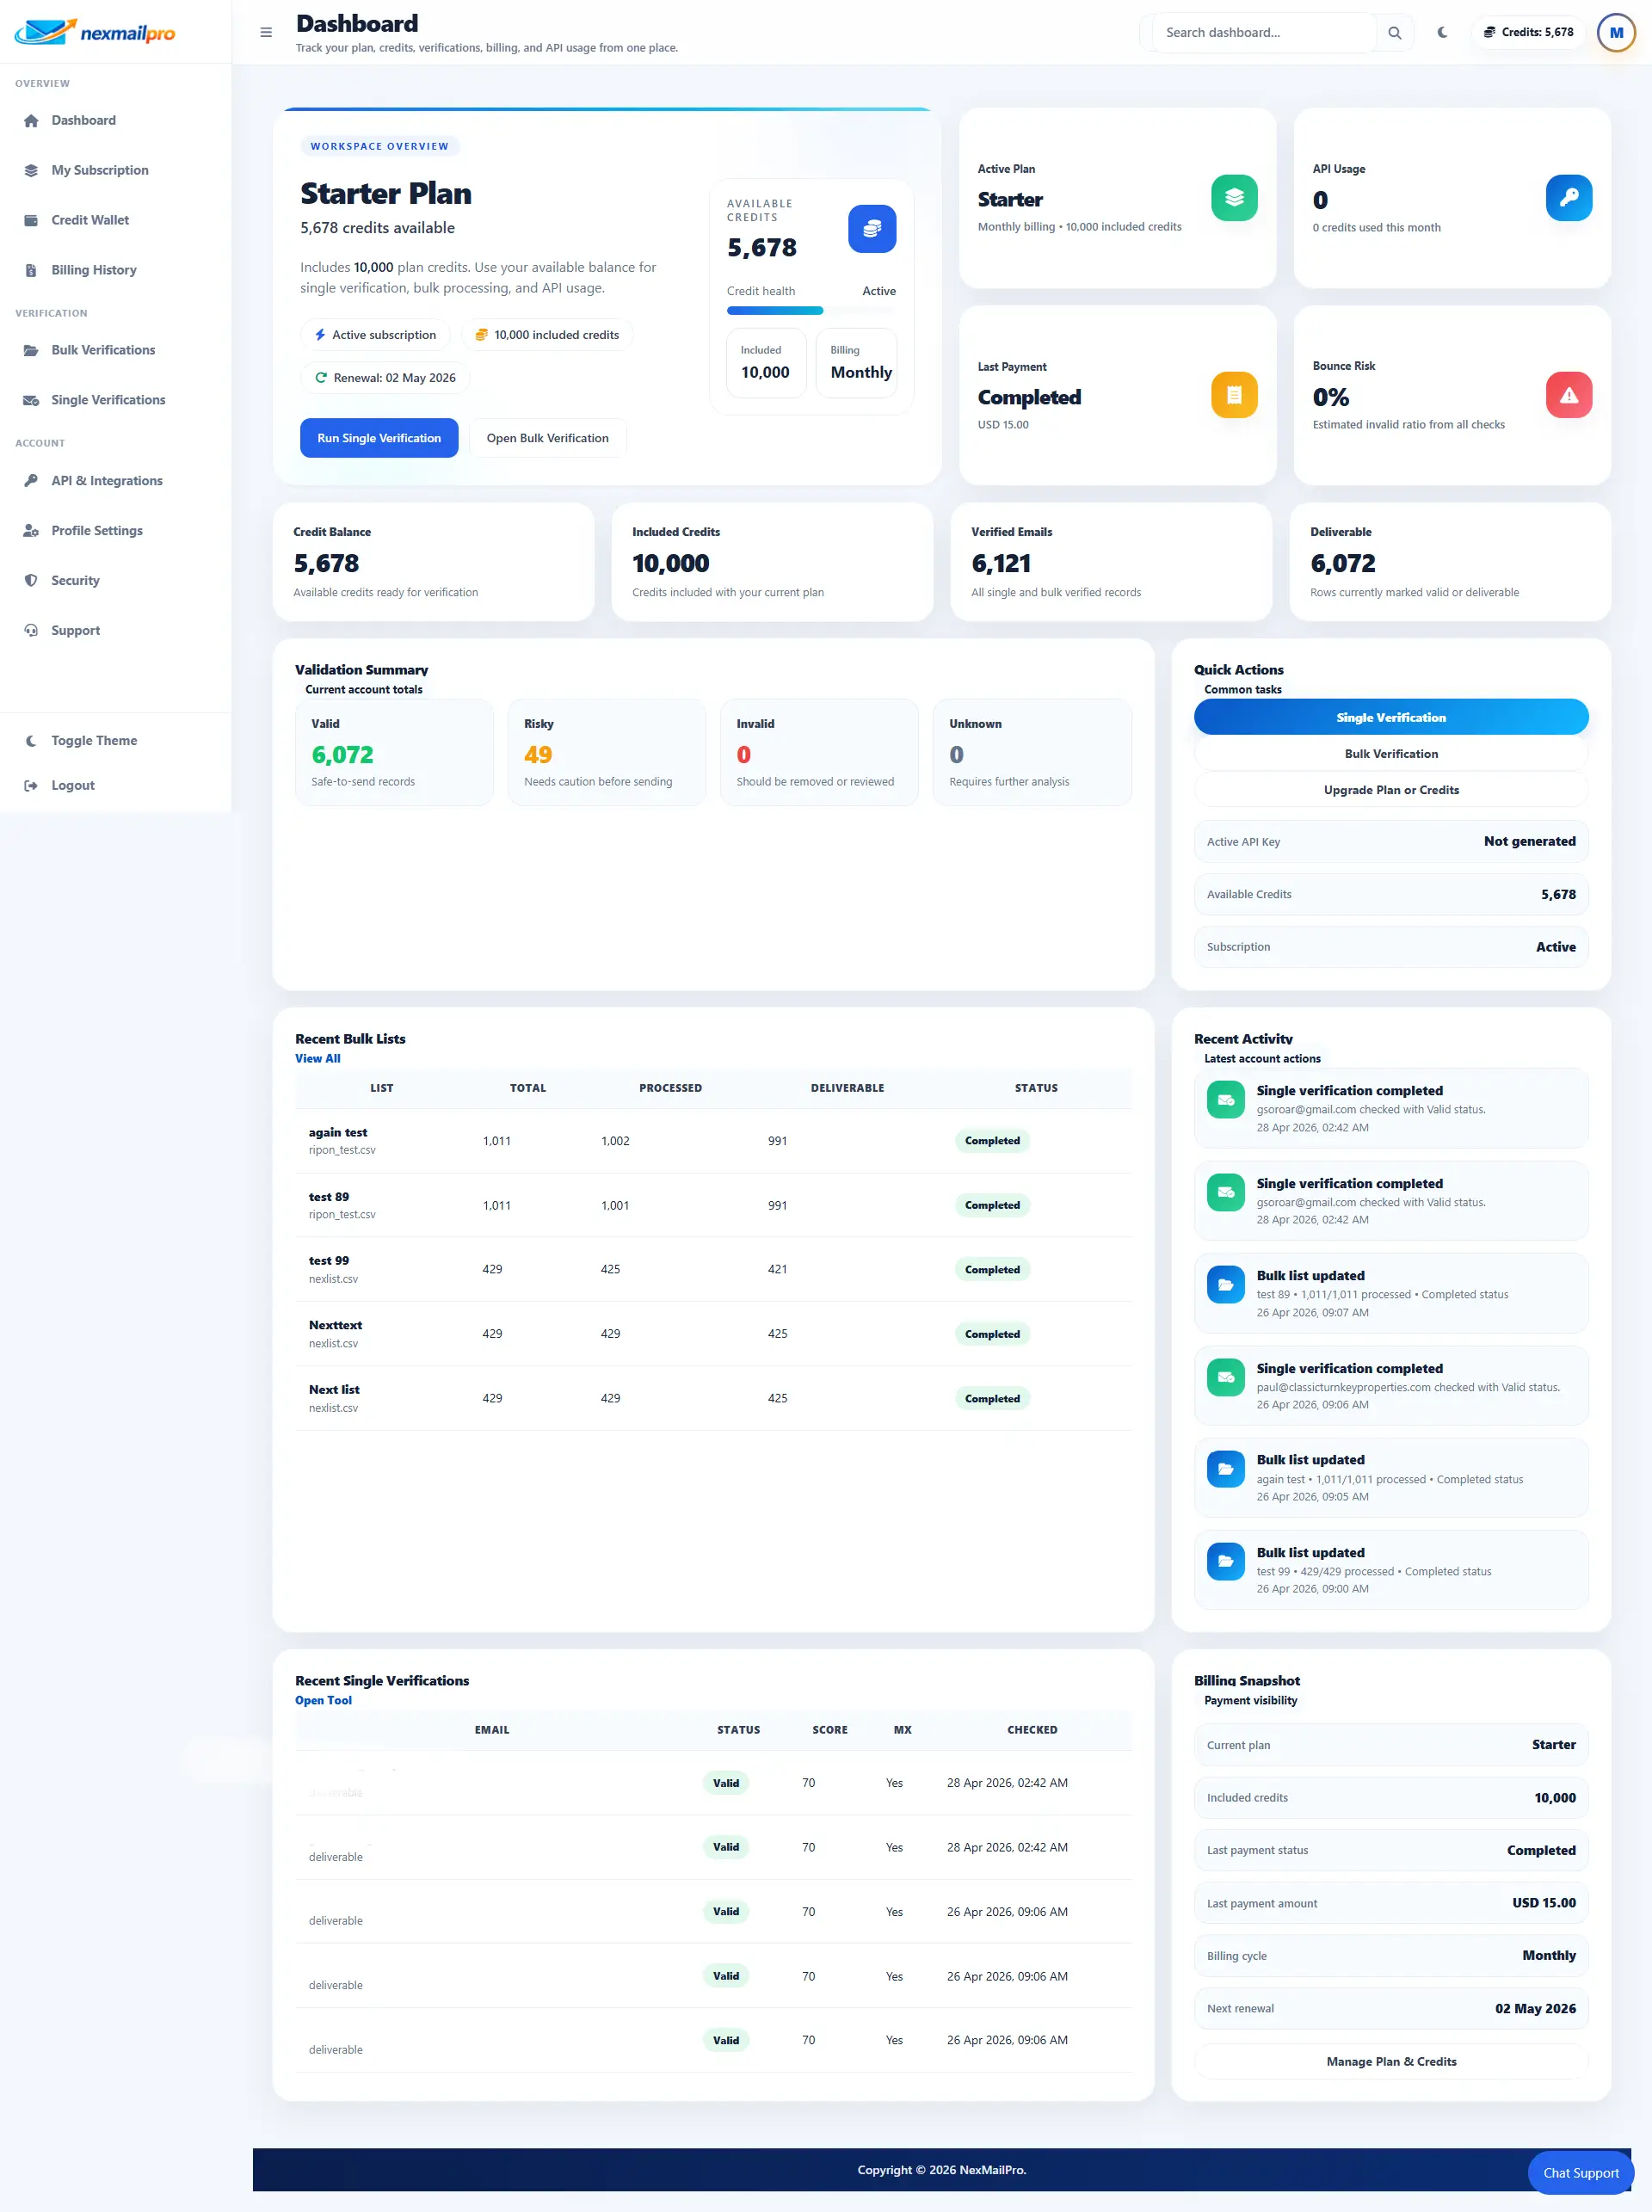
Dashboard overview image placeholder
The dashboard shows credits, recent activity, and account shortcuts.
4. Understand the Dashboard
The dashboard is your main workspace. It shows the most important parts of your account in one place so you can work quickly.
Credits
See how many credits remain and how many you have already used.
Recent verifications
Review your latest single email checks and recent bulk jobs.
Bulk jobs
Jump back into uploaded lists and see which jobs are ready or processing.
Subscription or plan
Check your current plan, renewal date, and what is included.
Account shortcuts
Quick links take you to verification tools, billing, profile settings, API keys, and support.
Dashboard overview image placeholder
Use this screen to find credits, recent verifications, and billing shortcuts.
5. Check Your Credits
Credits are the units used when you verify email addresses. In simple terms, one verification usually uses one credit.
- Credits are deducted when you verify emails.
- Your dashboard and wallet area show the remaining balance.
- Bulk verification also shows estimated credits before you start.
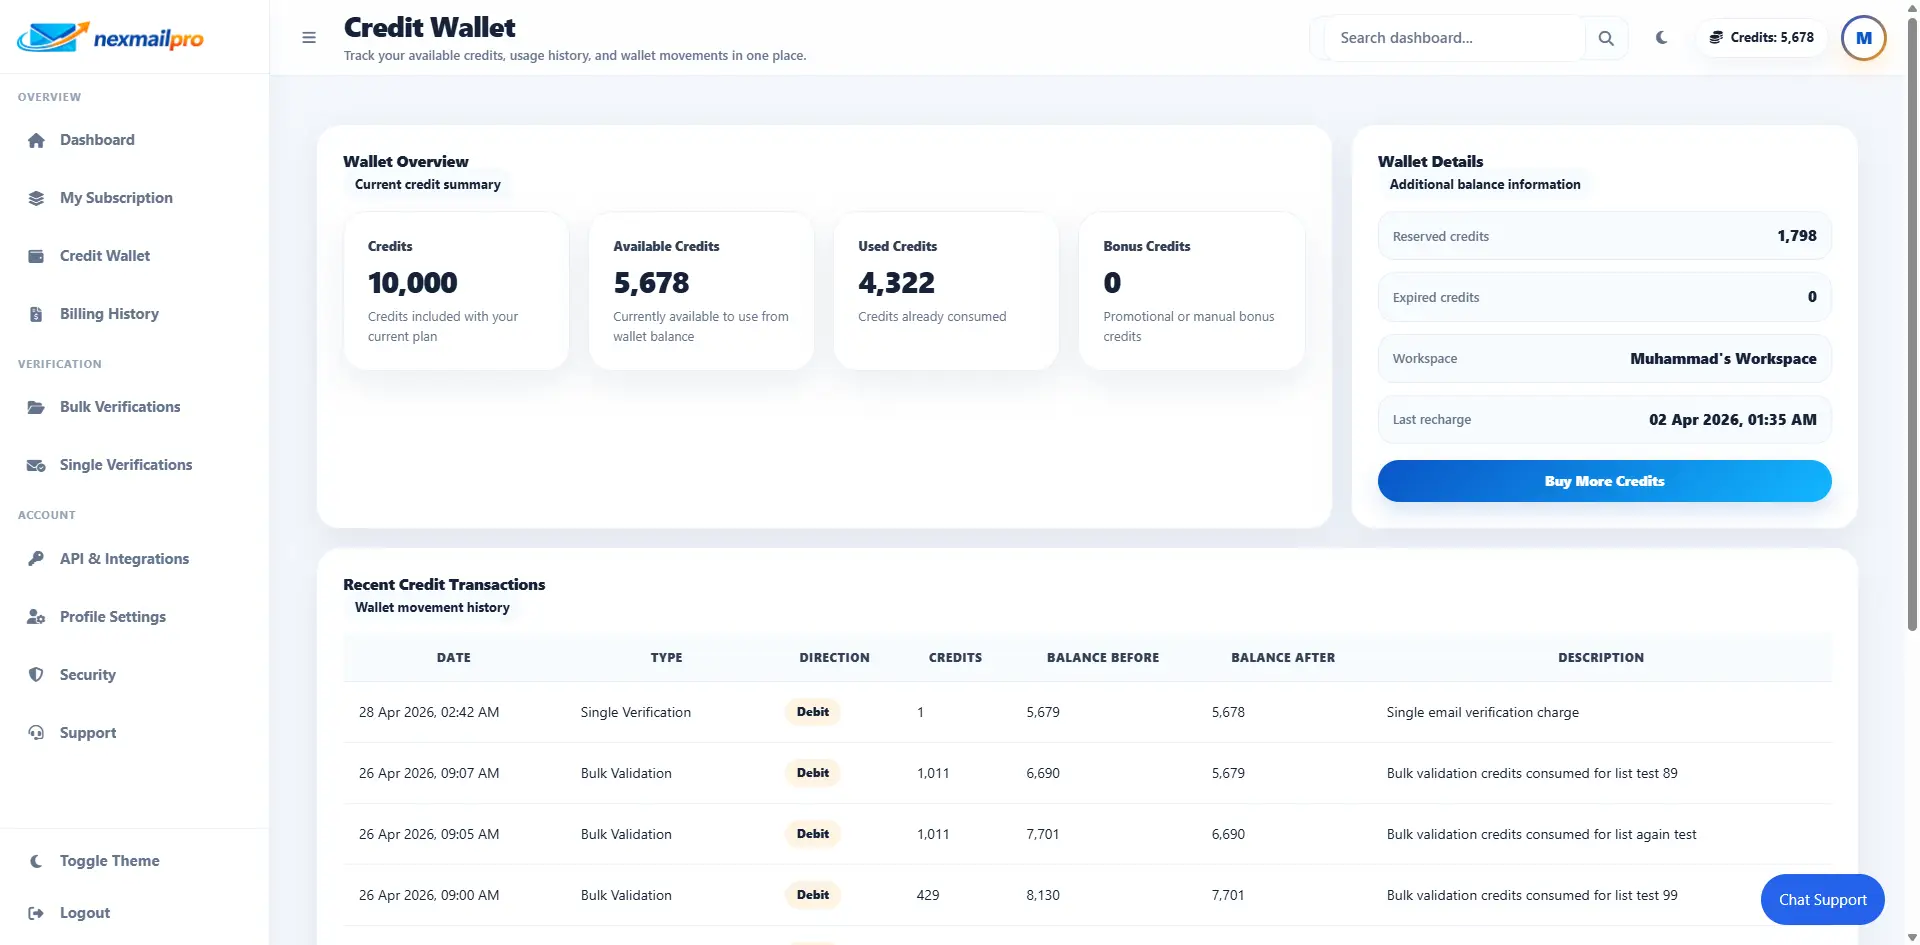
Credit balance image placeholder
Check your remaining credits before starting a verification job.
6. Choose or Upgrade a Plan
The pricing page shows the plans you can choose from. Some plans may include monthly or yearly billing, plan limits, and different credit amounts.
Free
Good for testing NexMailPro and learning the workflow.
Paid plans
Better for regular use, more credits, and bigger workloads.
Plan limits
Check file size, email count, and feature limits before choosing.
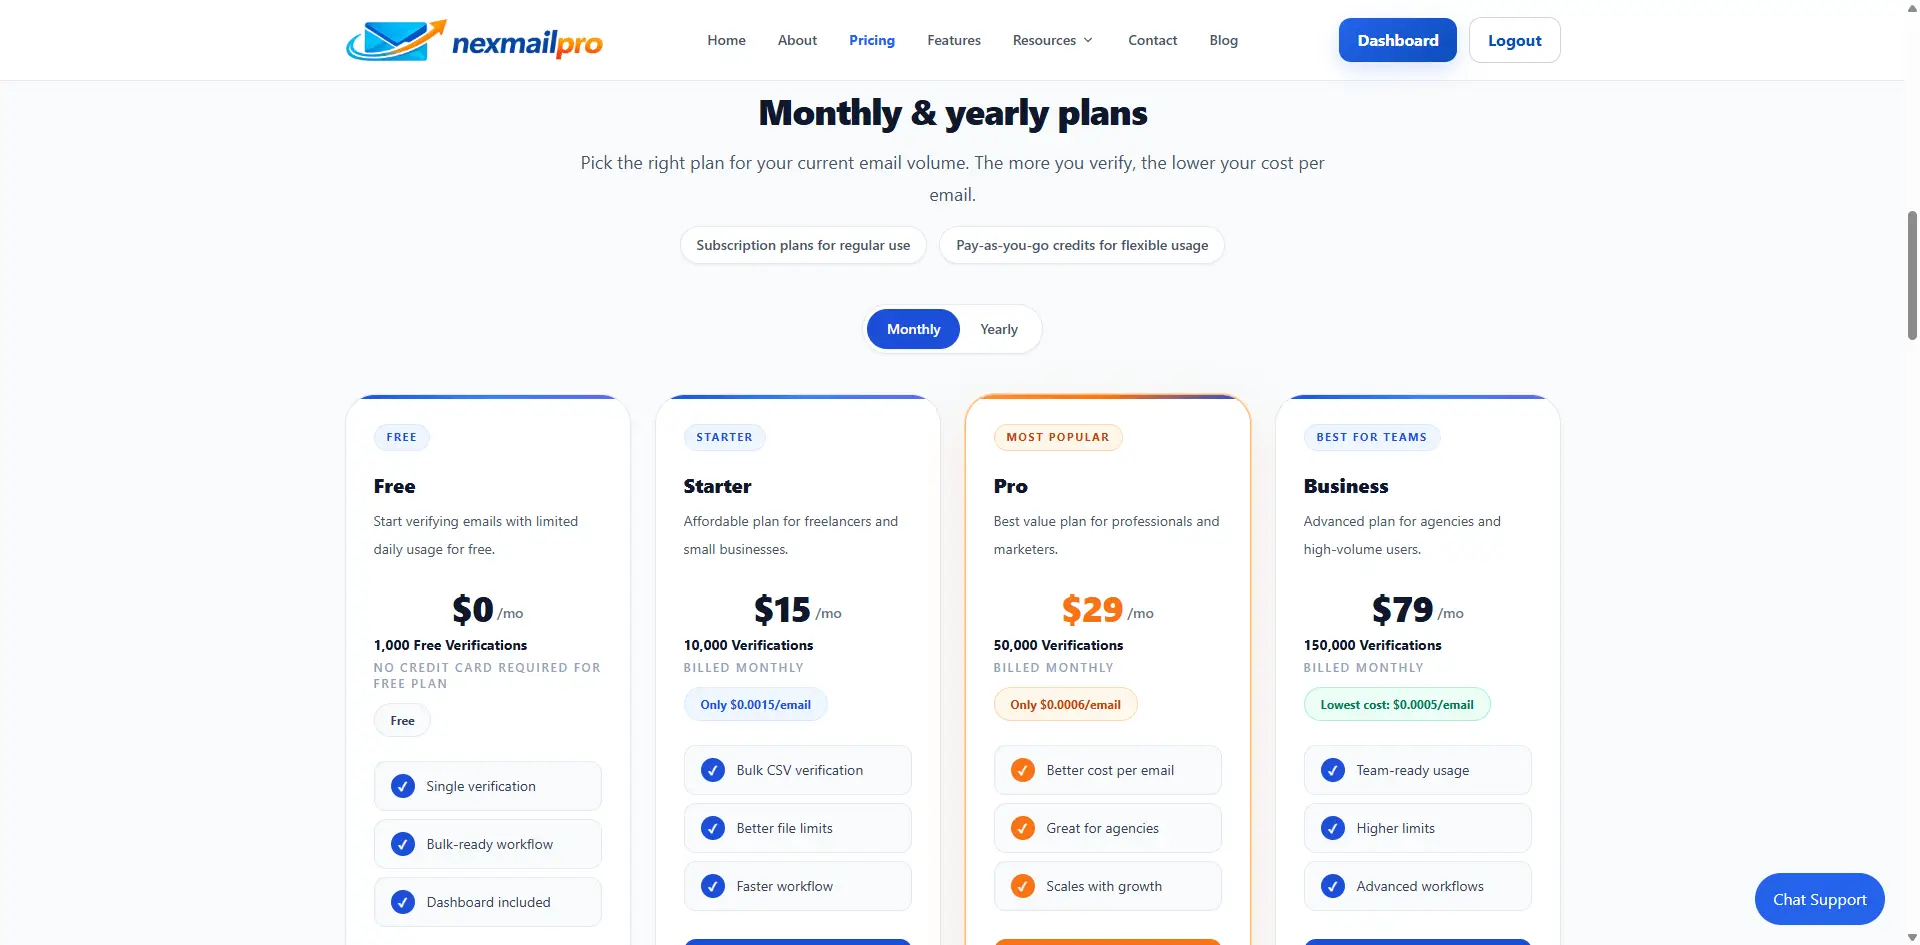
Pricing page image placeholder
Compare plans, limits, and credit packages before you upgrade.
7. Make a Payment / Buy Credits
If you need more credits, choose a plan or credit package on the pricing page. You will be sent to checkout, complete the payment, and then return to NexMailPro.
- Open the pricing page.
- Choose a plan or credit package.
- Complete the checkout process.
- After payment succeeds, your credits are updated in your account.
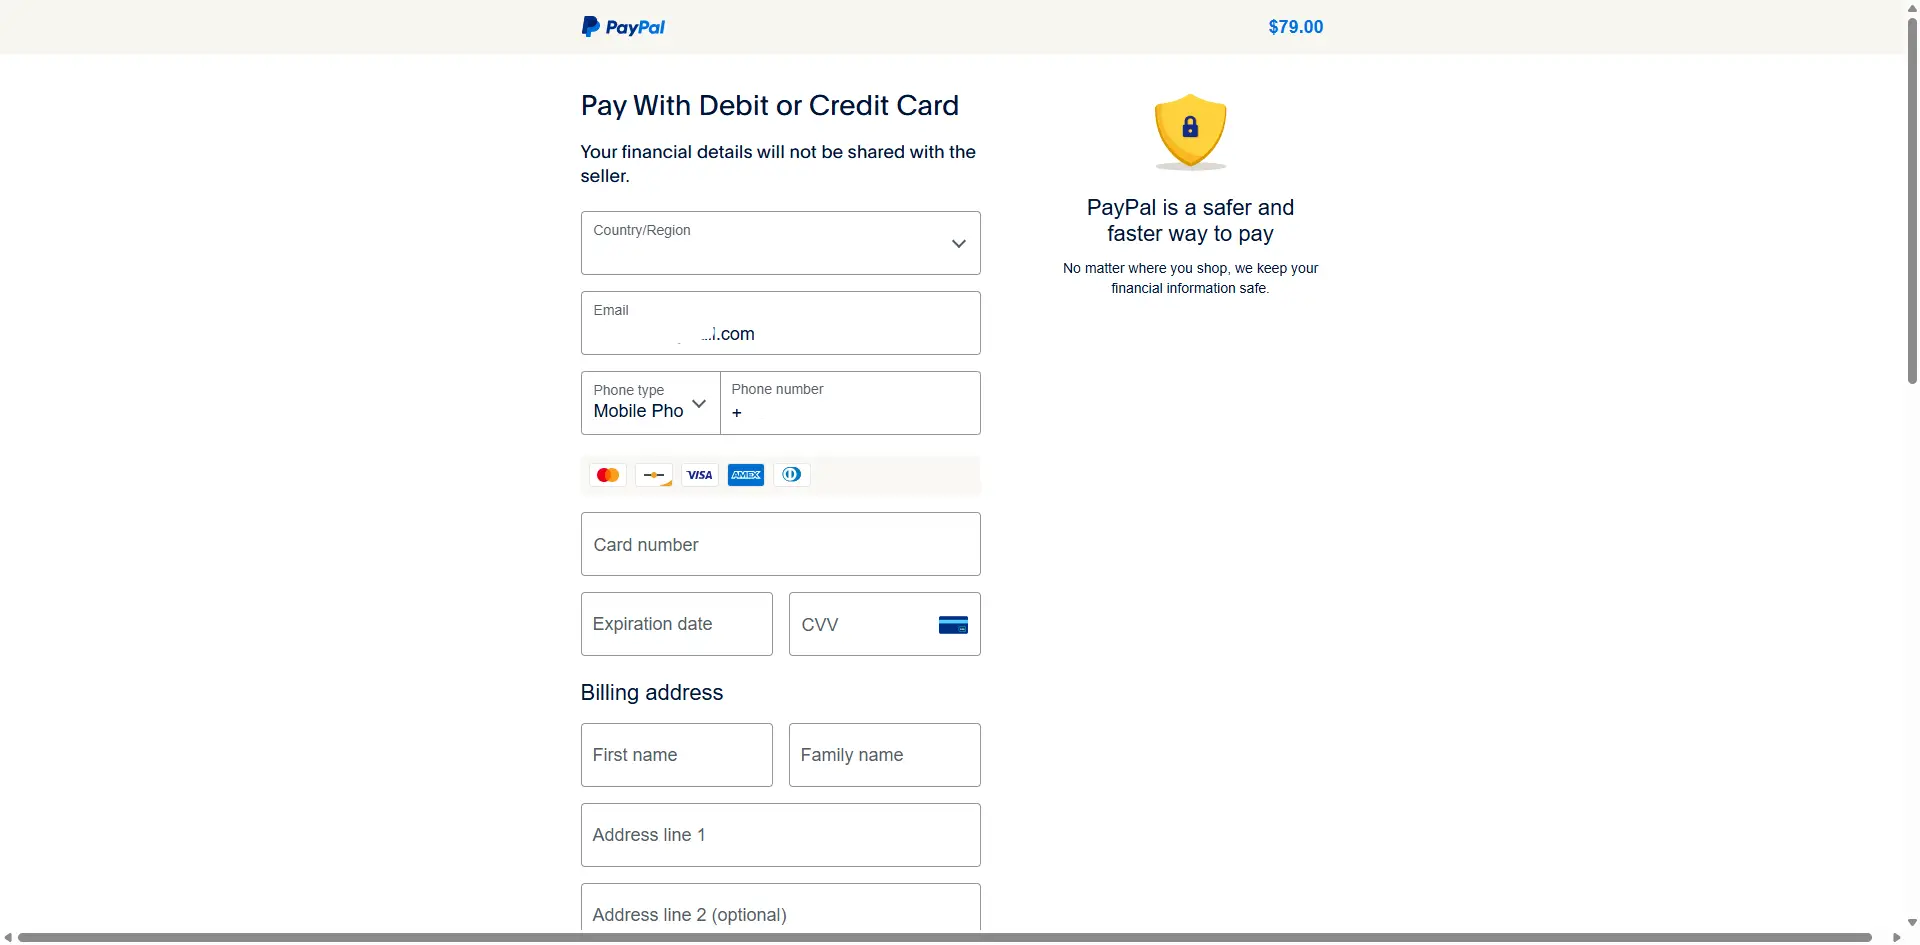
Checkout page image placeholder
Complete your payment securely in the checkout flow.
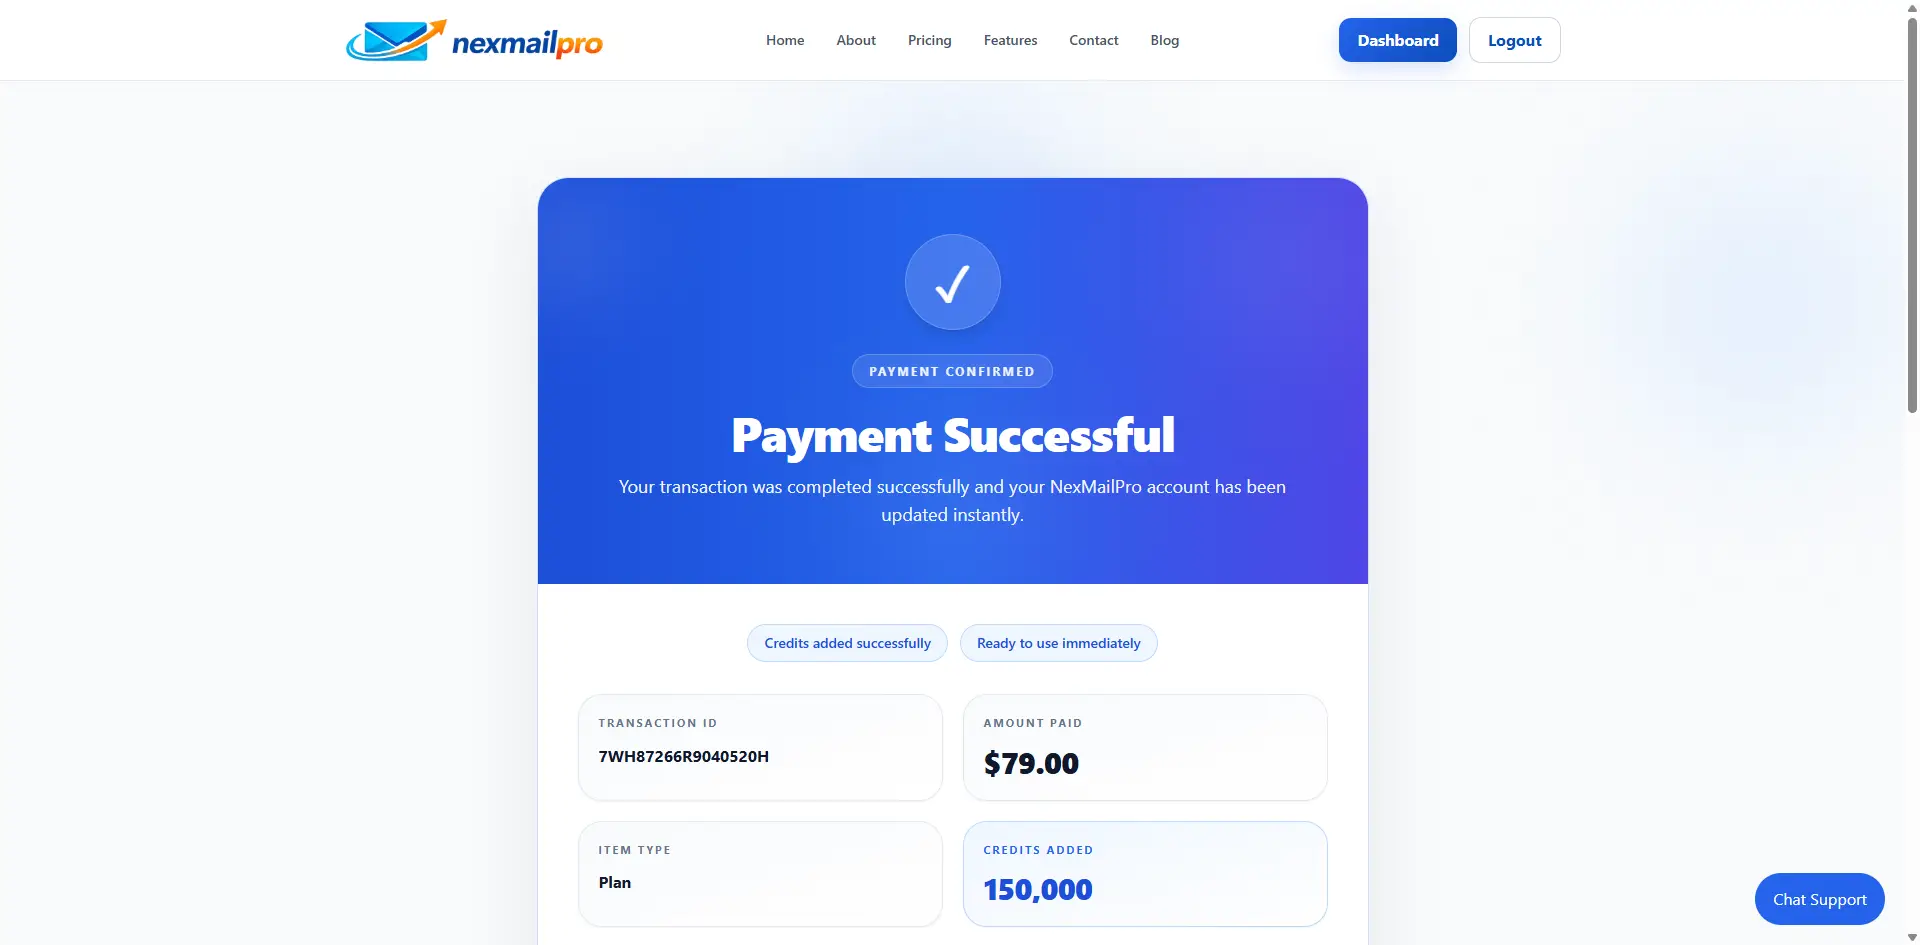
Payment success page image placeholder
After payment, your credits should update in the account area.
8. Verify a Single Email
Use the single email validator when you want to check one address at a time.
- Open the single email validator.
- Type the email address you want to check.
- Click the verify button.
- Read the result and decide what to do next.
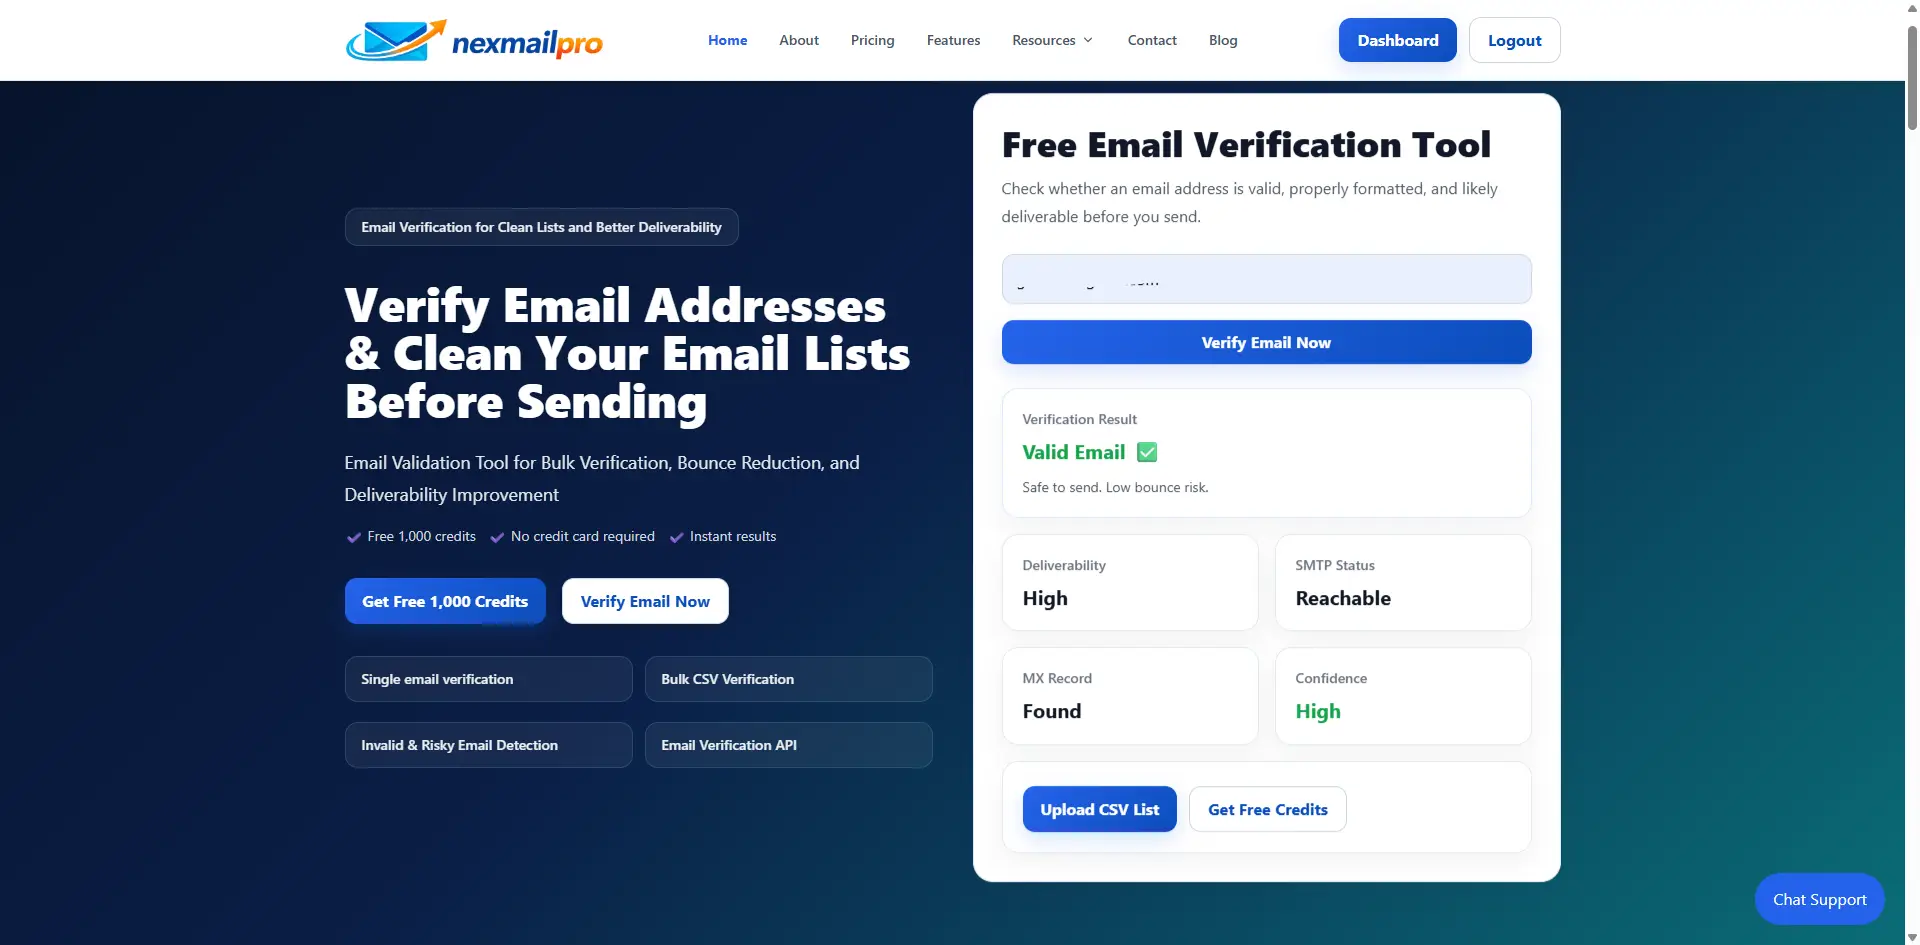
Single email verification image placeholder
Enter one email address and check the result.
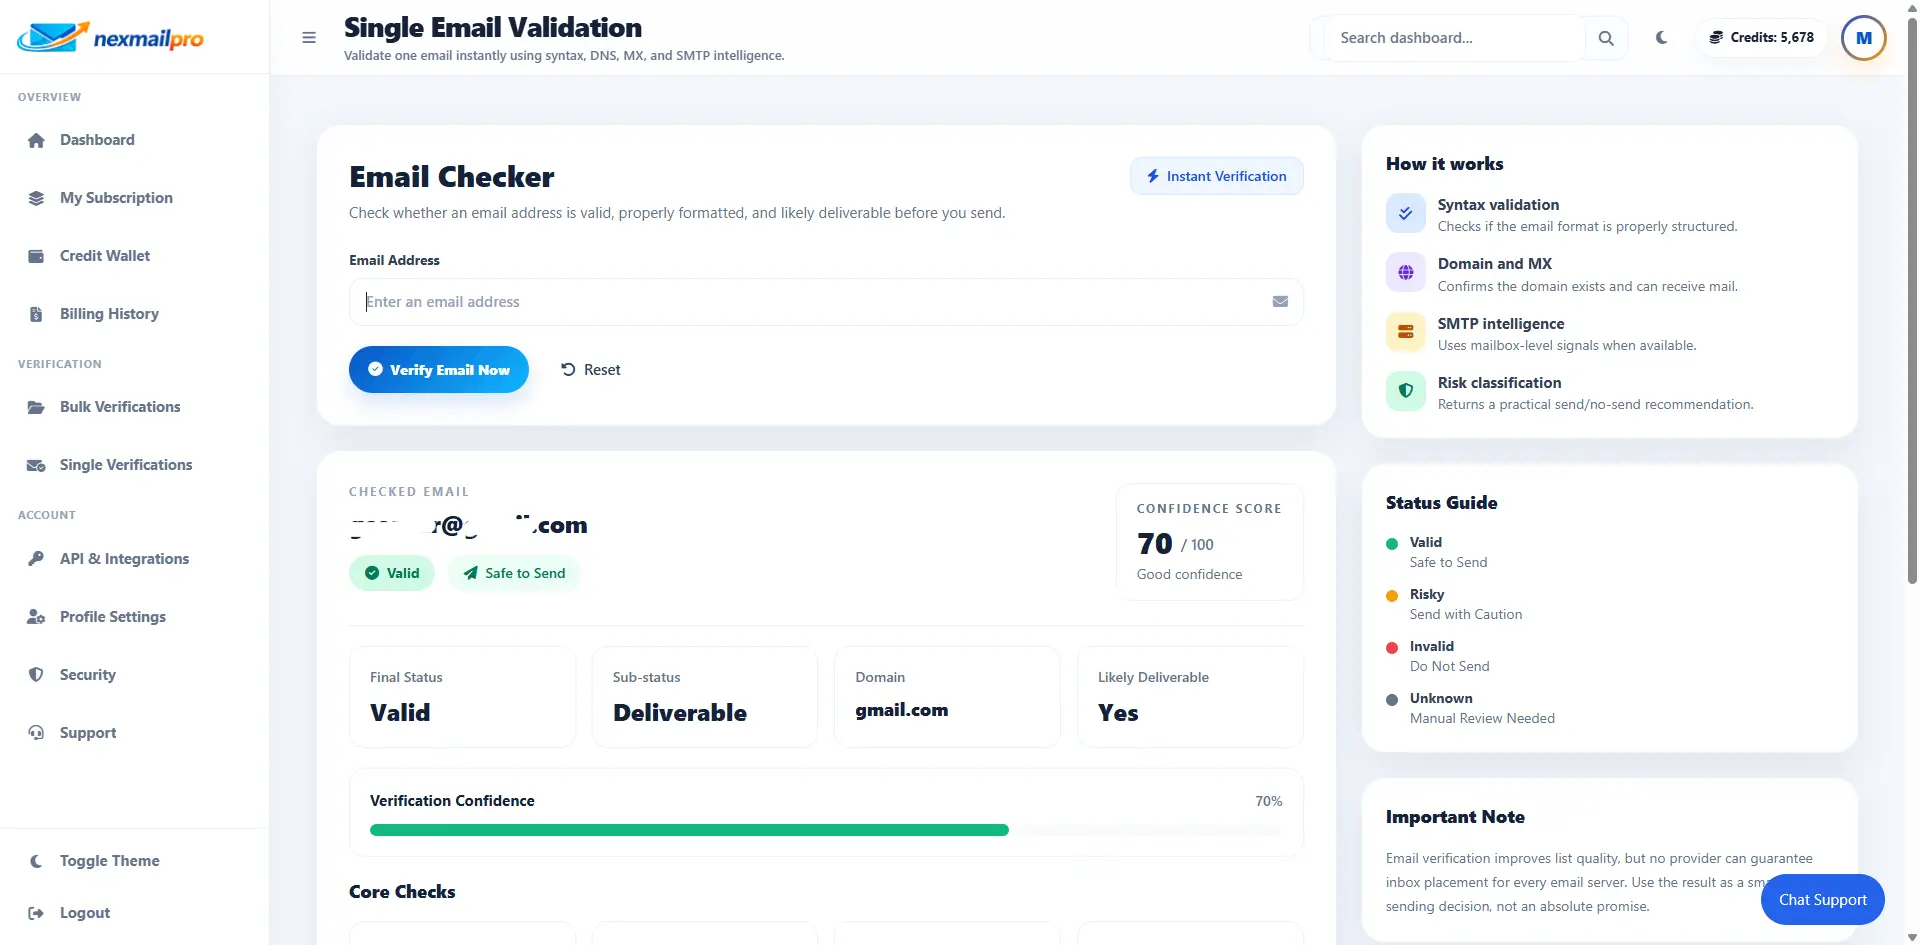
Single result image placeholder
Review status, score, syntax, and MX details in the result view.
9. Understand Single Verification Results
Result labels are simple. Use them as a guide, not as a promise that every email will or will not work forever.
| Term | Simple meaning |
|---|---|
| Valid | The email looks good and is likely usable. |
| Invalid | The address is wrong or cannot be used. |
| Risky | The address may work, but it has warning signs. |
| Unknown | The system could not fully confirm the address. |
| MX | Checks whether the domain has mail servers. |
| Syntax | Checks whether the email is typed correctly. |
| Score | A confidence score that helps you compare results. |
| Credits charged | How many credits were used for the check. |
Result explanation image placeholder
Use the result labels and score to decide what to do next.
10. Verify Emails in Bulk
Bulk verification is the best choice when you have a CSV file with many email addresses.
- Prepare a CSV file with an email column.
- Upload the file in the bulk verification area.
- Let NexMailPro analyze the list first.
- Review the estimated credits before starting.
- Start verification when you are ready.
- Wait while the system processes the list.
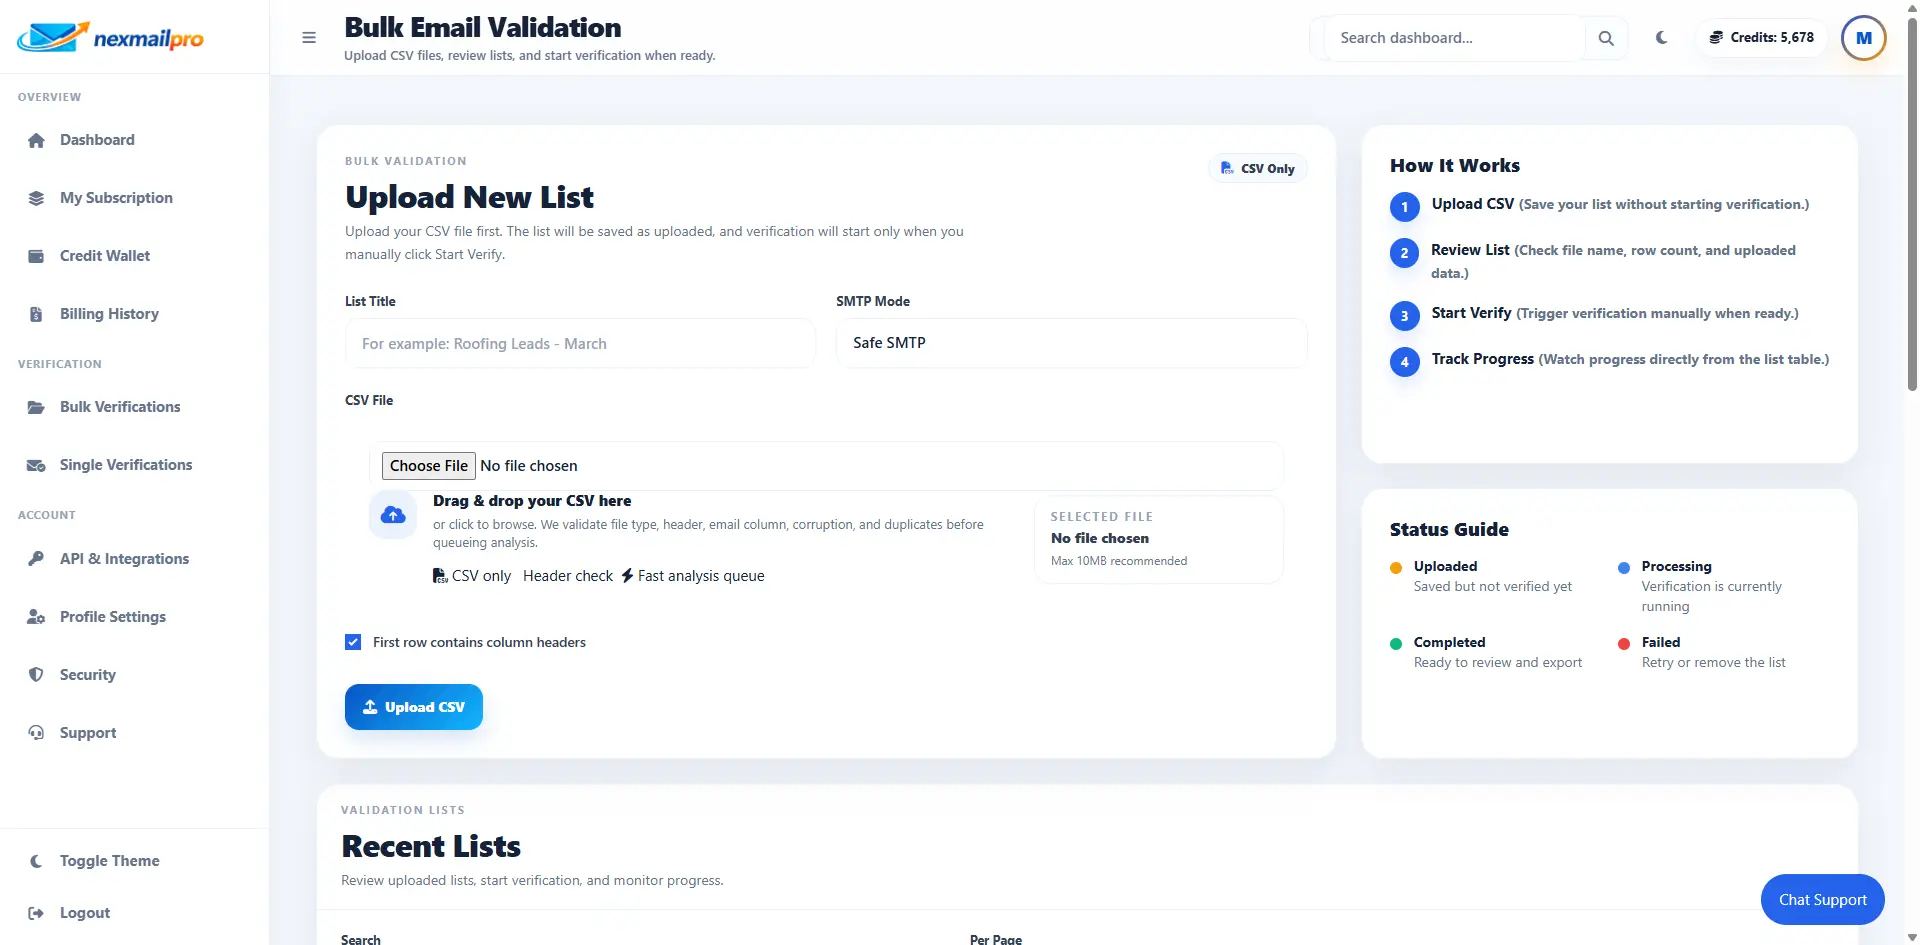
Bulk upload image placeholder
Upload a CSV file or email list to begin bulk verification.
Bulk analysis image placeholder
Review file analysis and estimated credits before starting the job.
Bulk processing image placeholder
Wait for the list to finish processing and refresh the status page if needed.
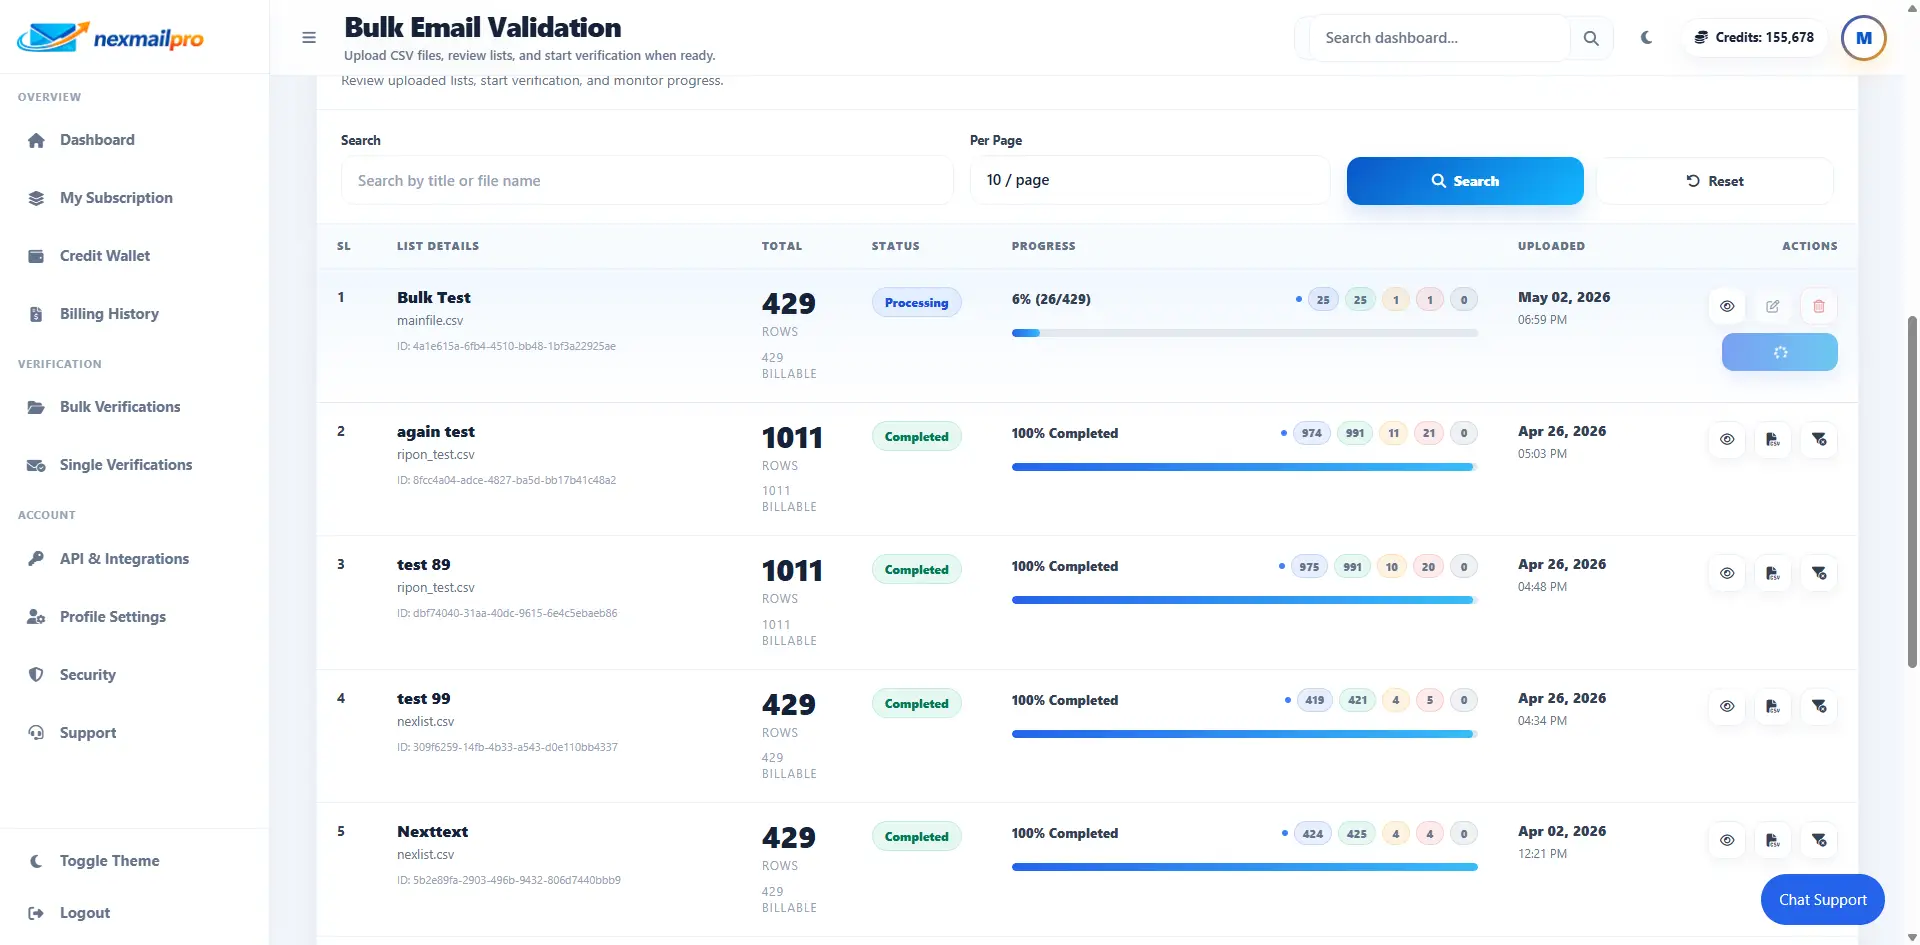
11. Download Bulk Results
When the bulk job is complete, you can download the results and use them before you send a campaign or import the cleaned list into another tool.
- Download all results if you want the full list.
- Download clean or valid emails if that option is available for your list.
- Use the exported file before your next email campaign or CRM import.

Bulk download image placeholder
Download the full results or a clean list for your next campaign.

Bulk result table image placeholder
Review valid, risky, duplicate, and invalid rows in the results table.
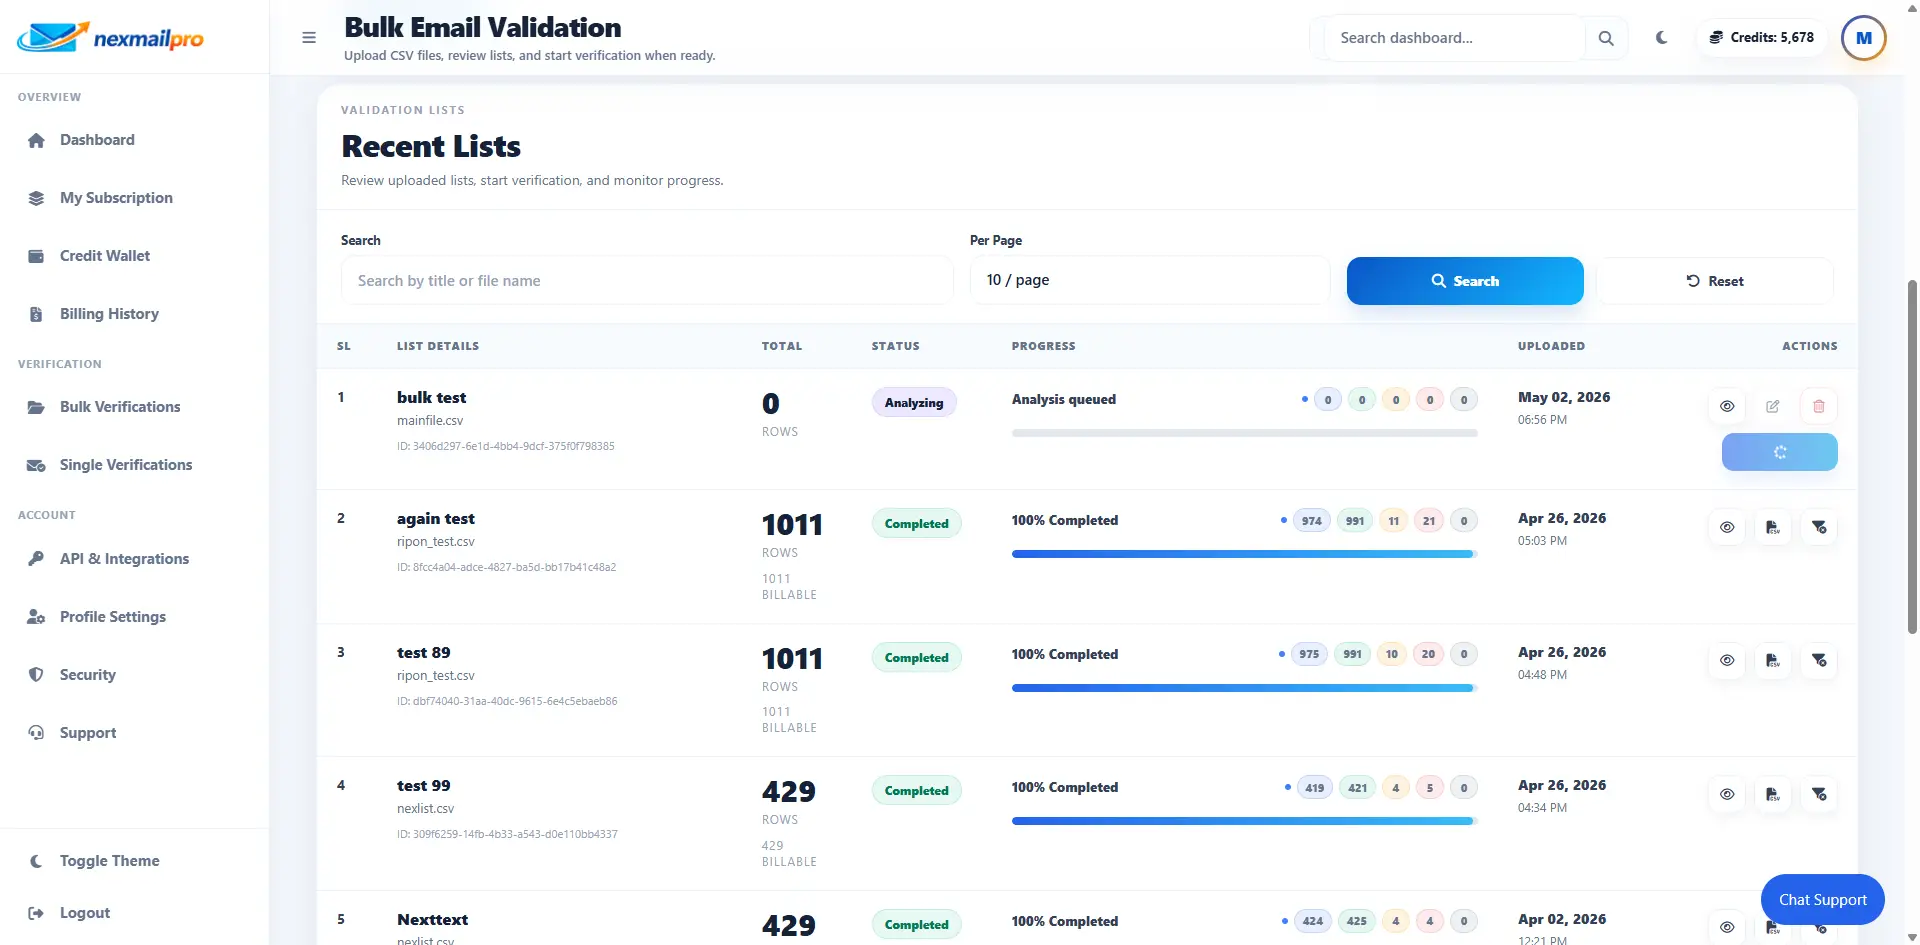
12. Understand Bulk Status
Bulk jobs move through a few simple status stages. Watching the status helps you know when to start, wait, or check the results again.
Analyzing
NexMailPro is checking the uploaded file and preparing the list.
Ready
The analysis is complete and you can start verification.
Processing
The system is actively verifying the list.
Completed
The bulk job is finished and ready to review or download.
Failed
Something stopped the job. Check the message and try again if needed.
The progress percentage helps you see how far the job has moved.
13. Use API Keys
API keys are for connecting other software to NexMailPro. You usually need them when a website, app, or internal tool needs to verify emails automatically.
- Open the API keys page in your dashboard.
- Create a new key with a clear name.
- Copy the key once and save it somewhere secure.
- Keep it private and revoke it if you no longer need it.
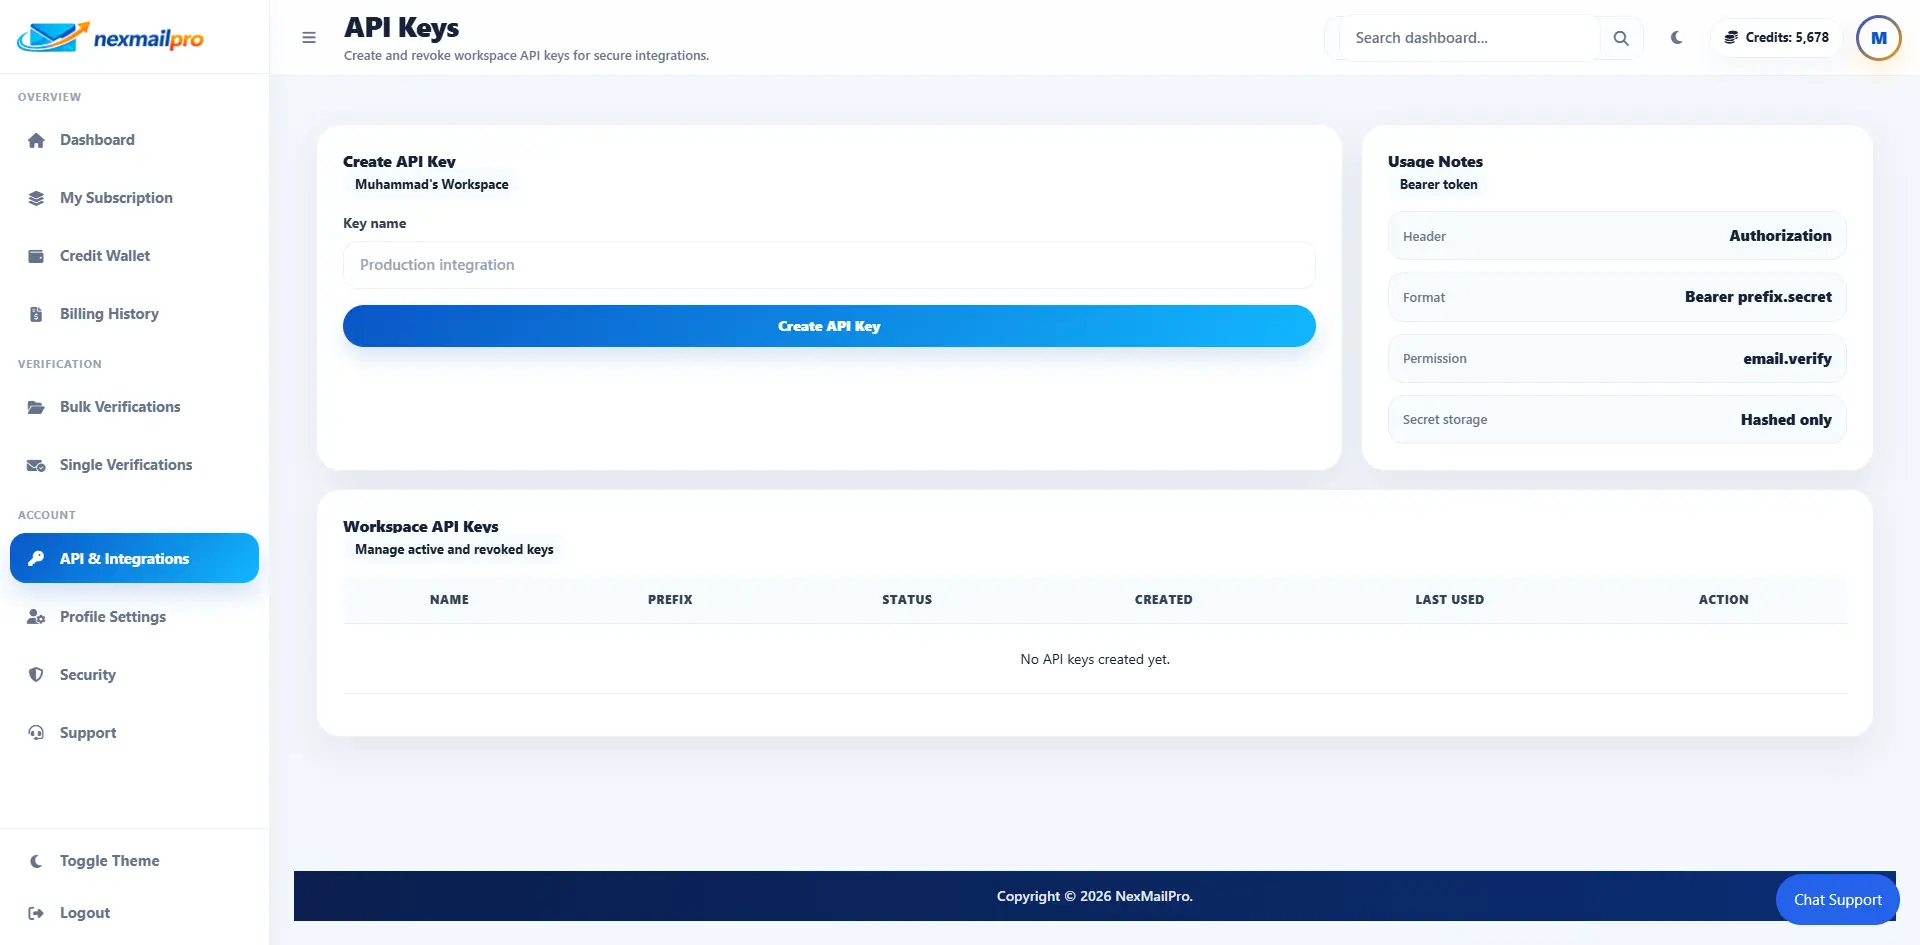
API key page image placeholder
Create, copy, and revoke API keys from the dashboard.
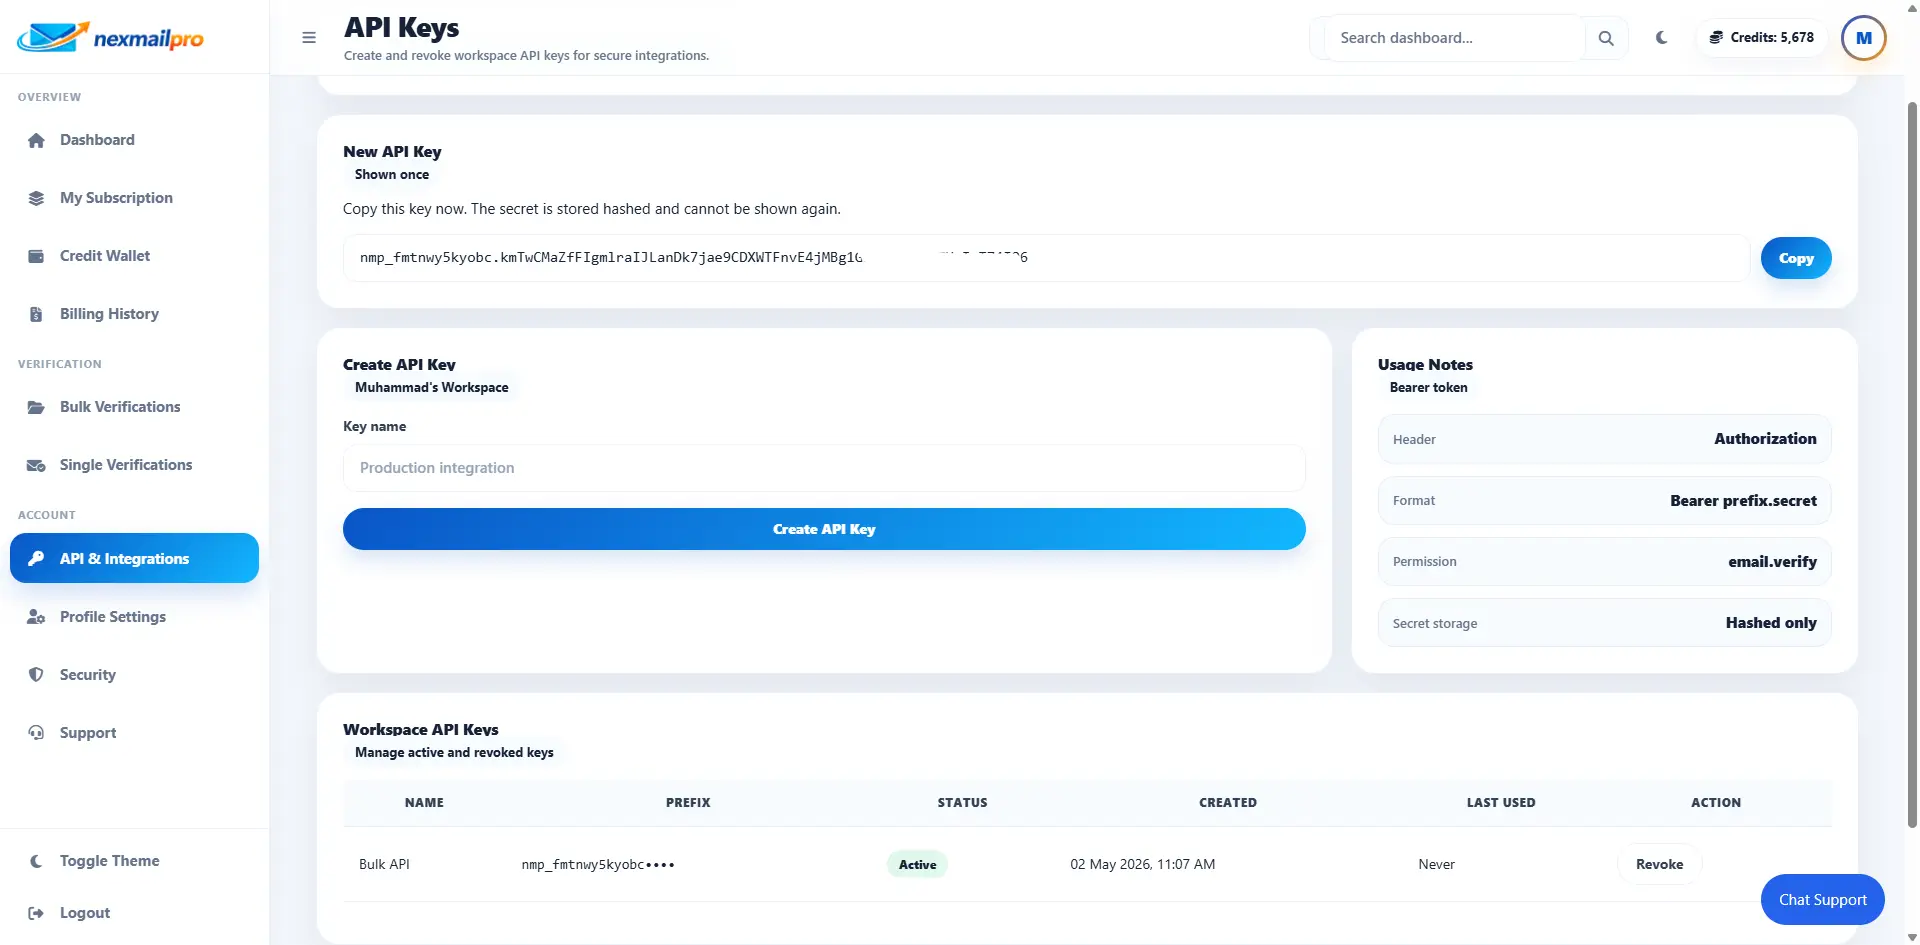
Created API key image placeholder
Copy the full key once and store it somewhere safe.
14. API Documentation Link
If you want technical integration details later, the API documentation is available at /docs/api.
15. Manage Profile and Account Settings
You can update your profile, change your password, and review account-related settings from the dashboard.
- Profile information such as name, email, and phone number.
- Password settings to keep your account secure.
- Workspace-related information in the dashboard area.
- Subscription, billing, and credit wallet pages.
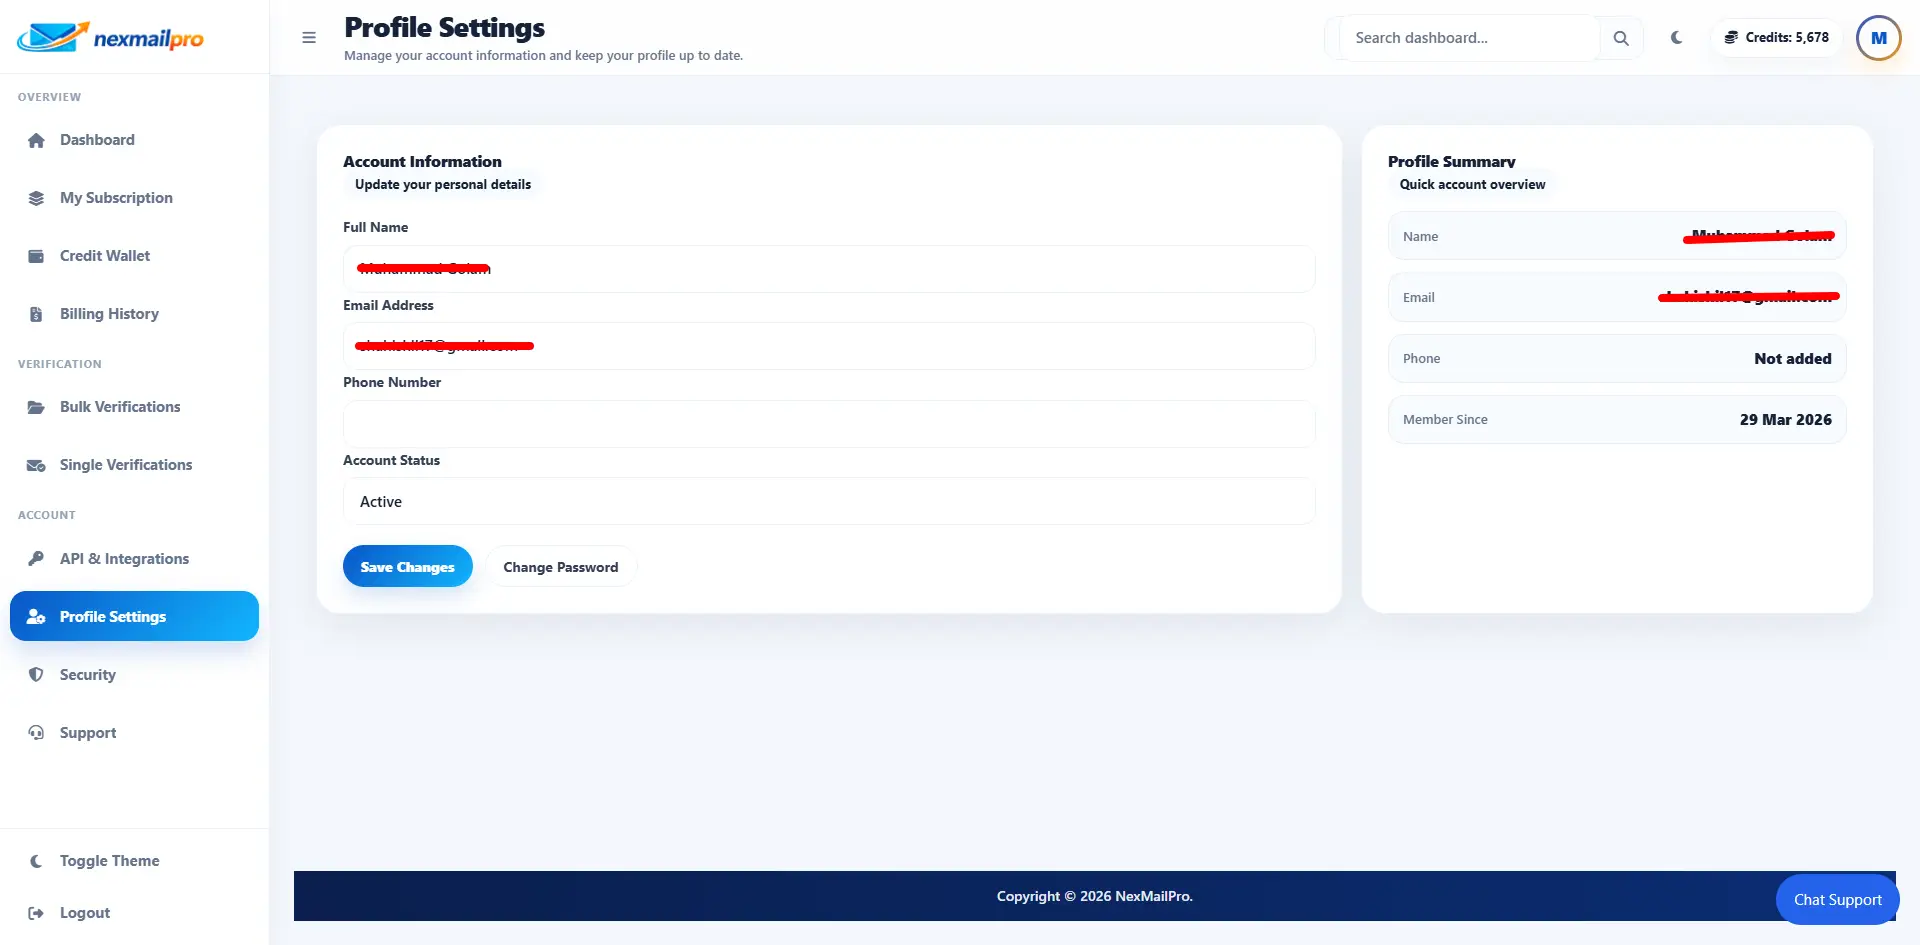
Profile settings image placeholder
Manage your profile, password, workspace, and billing settings here.
16. Support / Help
If you get stuck, use the support area to create a ticket or follow up on an existing one. This is the best place to ask billing questions, usage questions, or report a problem.
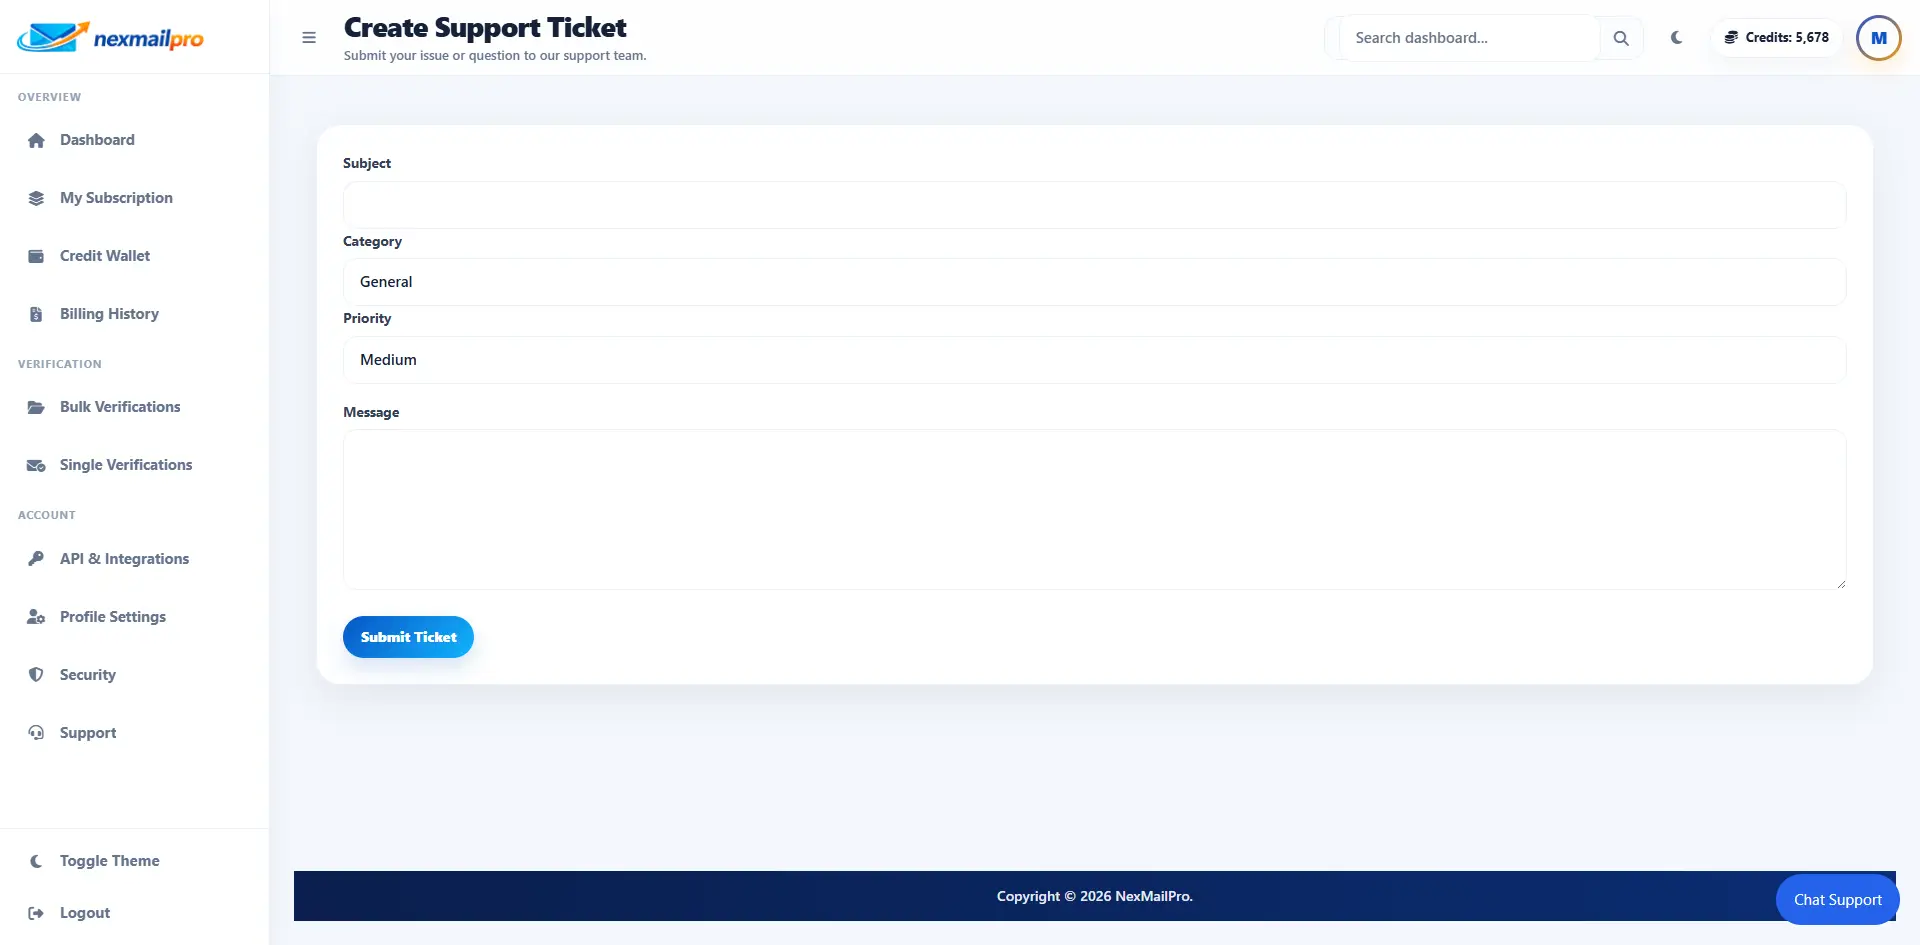
Support page image placeholder
Use support when you need help with billing, credits, or verification questions.
17. Common Mistakes to Avoid
Uploading the wrong CSV format
Make sure the file has the right columns and an email field.
Using old or bought lists
Old lists often contain more invalid addresses and higher bounce risk.
Ignoring risky results
Risky emails deserve a second look before you send a campaign.
Sharing API keys
Keep API keys private and revoke them if they are exposed.
Starting campaigns before verification finishes
Wait until your bulk list is completed and reviewed before sending emails.
18. Best Practices
Verify before every campaign
Check your data before sending to save time and reduce bounces.
Clean regularly
Don’t wait too long between list cleanups.
Download clean lists
Use the clean export when you only want the best contacts.
Monitor credits
Keep an eye on your balance so jobs do not stop unexpectedly.
Keep API keys private
Store keys in a secure place and use different keys for different tools when needed.
19. FAQ
What is NexMailPro?
NexMailPro is an email verification platform that helps you check single email addresses, clean bulk lists, manage credits, and improve deliverability.
What are credits?
Credits are the units used to pay for email verification. In simple terms, one verified email usually uses one credit.
How many credits does one email use?
In most cases, one single email verification uses one credit. Bulk verification shows an estimated credit count before you start.
Can I verify bulk email lists?
Yes. You can upload a CSV file, review the analysis, then start the bulk verification process from your dashboard.
What file format should I upload?
Use a CSV file for bulk verification. The file should include an email column, and it should follow the format shown in the bulk upload screen.
What does risky mean?
Risky means the email may work, but it has warning signs such as catch-all behavior, role-based addresses, or other signals that need caution.
Can I download clean emails only?
Yes. The bulk results screen includes download options so you can review and export the results you need before sending campaigns.
How do I buy more credits?
Open the pricing page, choose a plan or credit package, complete payment, and your credits will update after checkout is completed.
What is an API key?
An API key is a secret token that lets your software connect to NexMailPro securely without using the web dashboard each time.
Is my data secure?
NexMailPro uses account login, workspace ownership, and secure API authentication. You should still keep your password and API keys private.
Next Step
Start verifying email addresses today
Use the single validator for quick checks, compare plans if you need more credits, and open the dashboard when you are ready to work with bulk lists or API keys.